

1.KickStart
KickStart是一种无人职守安装方式。KickStart的工作原理是通过记录典型的安装过程中所需人工干预填写的各种参数,并生成一个名为ks.cfg的文件;在其后的安装过程中(不只局限于生成KickStart安装文件的机器)当出现要求填写参数的情况时,安装程序会首先去查找KickStart生成的文件,当找到合适的参数时,就采用找到的参数,当没有找到合适的参数时,才需要安装者手工干预。这样,如果KickStart文件涵盖了安装过程中出现的所有需要填写的参数时,安装者完全可以只告诉安装程序从何处取ks.cfg文件,然后去忙自己的事情。等安装完毕,安装程序会根据ks.cfg中设置的重启选项来重启系统,并结束安装。
PXE + KickStart安装的条件
2.实验环境
组件:
dhcp:动态分配Ip地址
httpd:基于web访问centos镜像文件
tftp:存放linux pxe引导文件
syslinux:syslinux是一个功能强大的引导加载程序
服务器:
主机centos6.5 IP:192.168.180.130
安装:dhcp httpd tftp syslinux服务
3.操作步骤
一.安装相关组件
[root@localhost ~]#yum -y install dhcp* httpd* tftp* syslinux*
挂载CentOS6.5的DVD光盘,并复制第一张光盘下的所有内容(文件和文件夹)到/var/www/html/centos(centos目录需要自己创建)下(apache默认网站根目录)
[root@localhost ~]#mount /dev/cdrom  /mnt/
[root@localhost ~]#cp -rf /mnt/* /var/www/html/centos
二、配置apache
[root@localhost ~]#service httpd start
三、配置tftp
[root@localhost ~]#vim /etc/xinetd.d/tftp
修改14行disable = no
[root@localhost ~]#/etc/init.d/xinetd start
四、配置dhcp
[root@localhost ~]#vim /etc/dhcp/dhcpd.conf
ddns-update-style  interim;
default-lease-time 216000;
filename "/pxelinux.0";
max-lease-time 43200;
next-server 192.168.180.130;
subnet 192.168.180.0 netmask 255.255.255.0 {
         option   subnet-mask 255.255.255.0;
         option   routers      192.168.180.2;
         range dynamic-bootp 192.168.180.2 192.168.180.200;
         default-lease-time 21600;
}
五、配置支持PXE启动
我已经把第一张光盘的内容复制到/var/www/html目录中了,所以所需要的文件我只需要从/var/www/html目录中复制就行了
1、进入tftpboot文件夹,没有就建一个,有了就不用建了。
[root@localhost ~]#cd /var/lib/tftpboot/
2、把pxelinux.0复制到/tftpboot/中
[root@localhost ~]#cd  /usr/share/syslinux
[root@localhost ~]#cp pxelinux.0 /var/lib/tftpboot
[root@localhost ~]#cp vesamenu.c32 /var/lib/tftpboot
3、把Linux第一张安装光盘上/images/pxeboot/initrd.img和vmlinux复制到/tftpboot/中
[root@localhost ~]#cp /var/www/html/images/pxeboot/initrd.img   /var/lib/tftpboot
[root@localhost ~]#cp /var/www/html/images/pxeboot/vmlinux   /var/lib/tftpboot
4、 复制第一张安装光盘上的isolinux/*.msg到/tftpboot/中
[root@localhost ~]#cp /var/www/html/isolinux/*.msg   /var/lib/tftpboot
5、 在tftpboot中新建一个pxelinux.cfg目录
[root@localhost ~]#mkdir pxelinux.cfg
6、 把Linux第一张安装光盘上isolinux目录中的isolinux.cfg复制到pxelinux.cfg目录中,并同时更改文件名称为default
[root@localhost ~]# cd pxelinux.cfg
[root@localhost ~]# cp /var/www/html/isolinux/isolinux.cfg   /var/lib/tftpboot/pxelinux.cfg/default
[root@localhost ~]# vim /var/lib/tftpboot/pxelinux.cfg/default
把22行注释掉,在下面添加:
append initrd=initrd.img ks=http://192.168.180.130/ks.cfg
六、修改/var/www/html/ks.cfg文件,指定读取ks.cfg的方法
#platform=x86, AMD64, or Intel EM64T
#version=DEVEL
# Firewall configuration
firewall --disabled
# Install OS instead of upgrade
install
# Use CDROM installation media
url --url=http://192.168.180.130/centos/
# Root password
rootpw --iscrypted $1$mR96CBFs$tpDEL7evE3eL2UjJ5PjG2.
# System authorization information
auth  --useshadow  --passalgo=sha512
# Use graphical install
graphical
firstboot --disable
# System keyboard
keyboard us
# System language
lang en_US
# SELinux configuration
selinux --disabled
# Installation logging level
logging --level=info
# Reboot after installation
reboot
# System timezone
timezone  Asia/Shanghai
# Network information
network  --bootproto=dhcp --device=eth0 --onboot=on
# System bootloader configuration
bootloader --append="crashkernel=auto rhgb quiet" --location=mbr --driveorder="sdb"
# Clear the Master Boot Record
zerombr
# Partition clearing information
clearpart --all --initlabel
# Disk partitioning information
part /boot --fstype="ext4" --size=200
part swap --size=4096
part / --fstype="ext4" --size=40960
%pre
echo "start install"
%end

%post
echo "install end"
%end
#程序包段
%packages
@chinese-support
@development
@X Window System
@remote-desktop-clients
%end
七、设置服务开机自启动:
[root@localhost ~]# chkconfig httpd on
[root@localhost ~]# chkconfig xinetd on
[root@localhost ~]# chkconfig dhcpd on
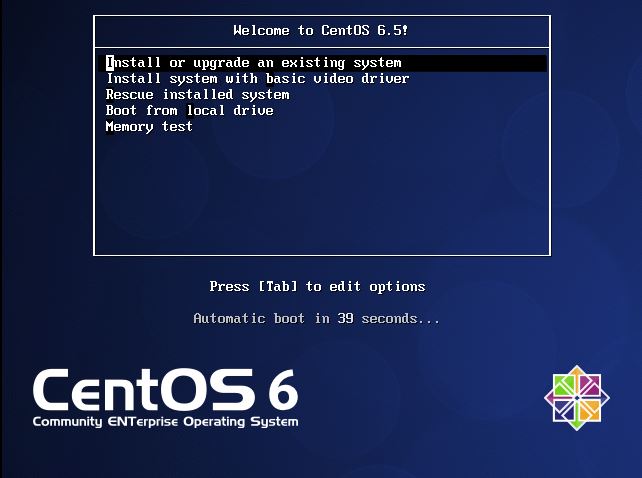
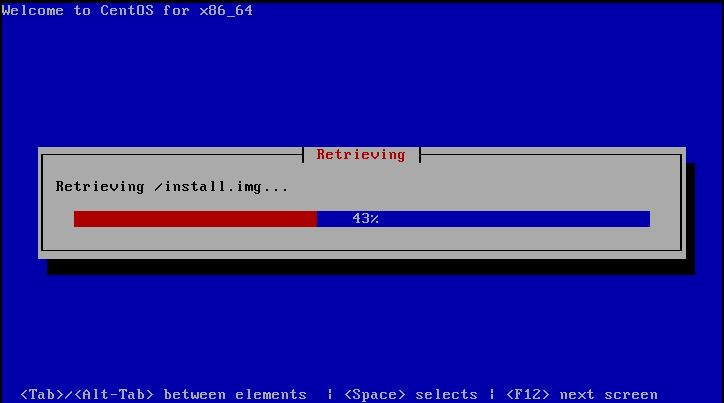
八.设置bios为网卡启动,启动后,就会进入到安装界面,并自行安装。

原创文章,作者:a295053193,如若转载,请注明出处:http://www.178linux.com/53336
